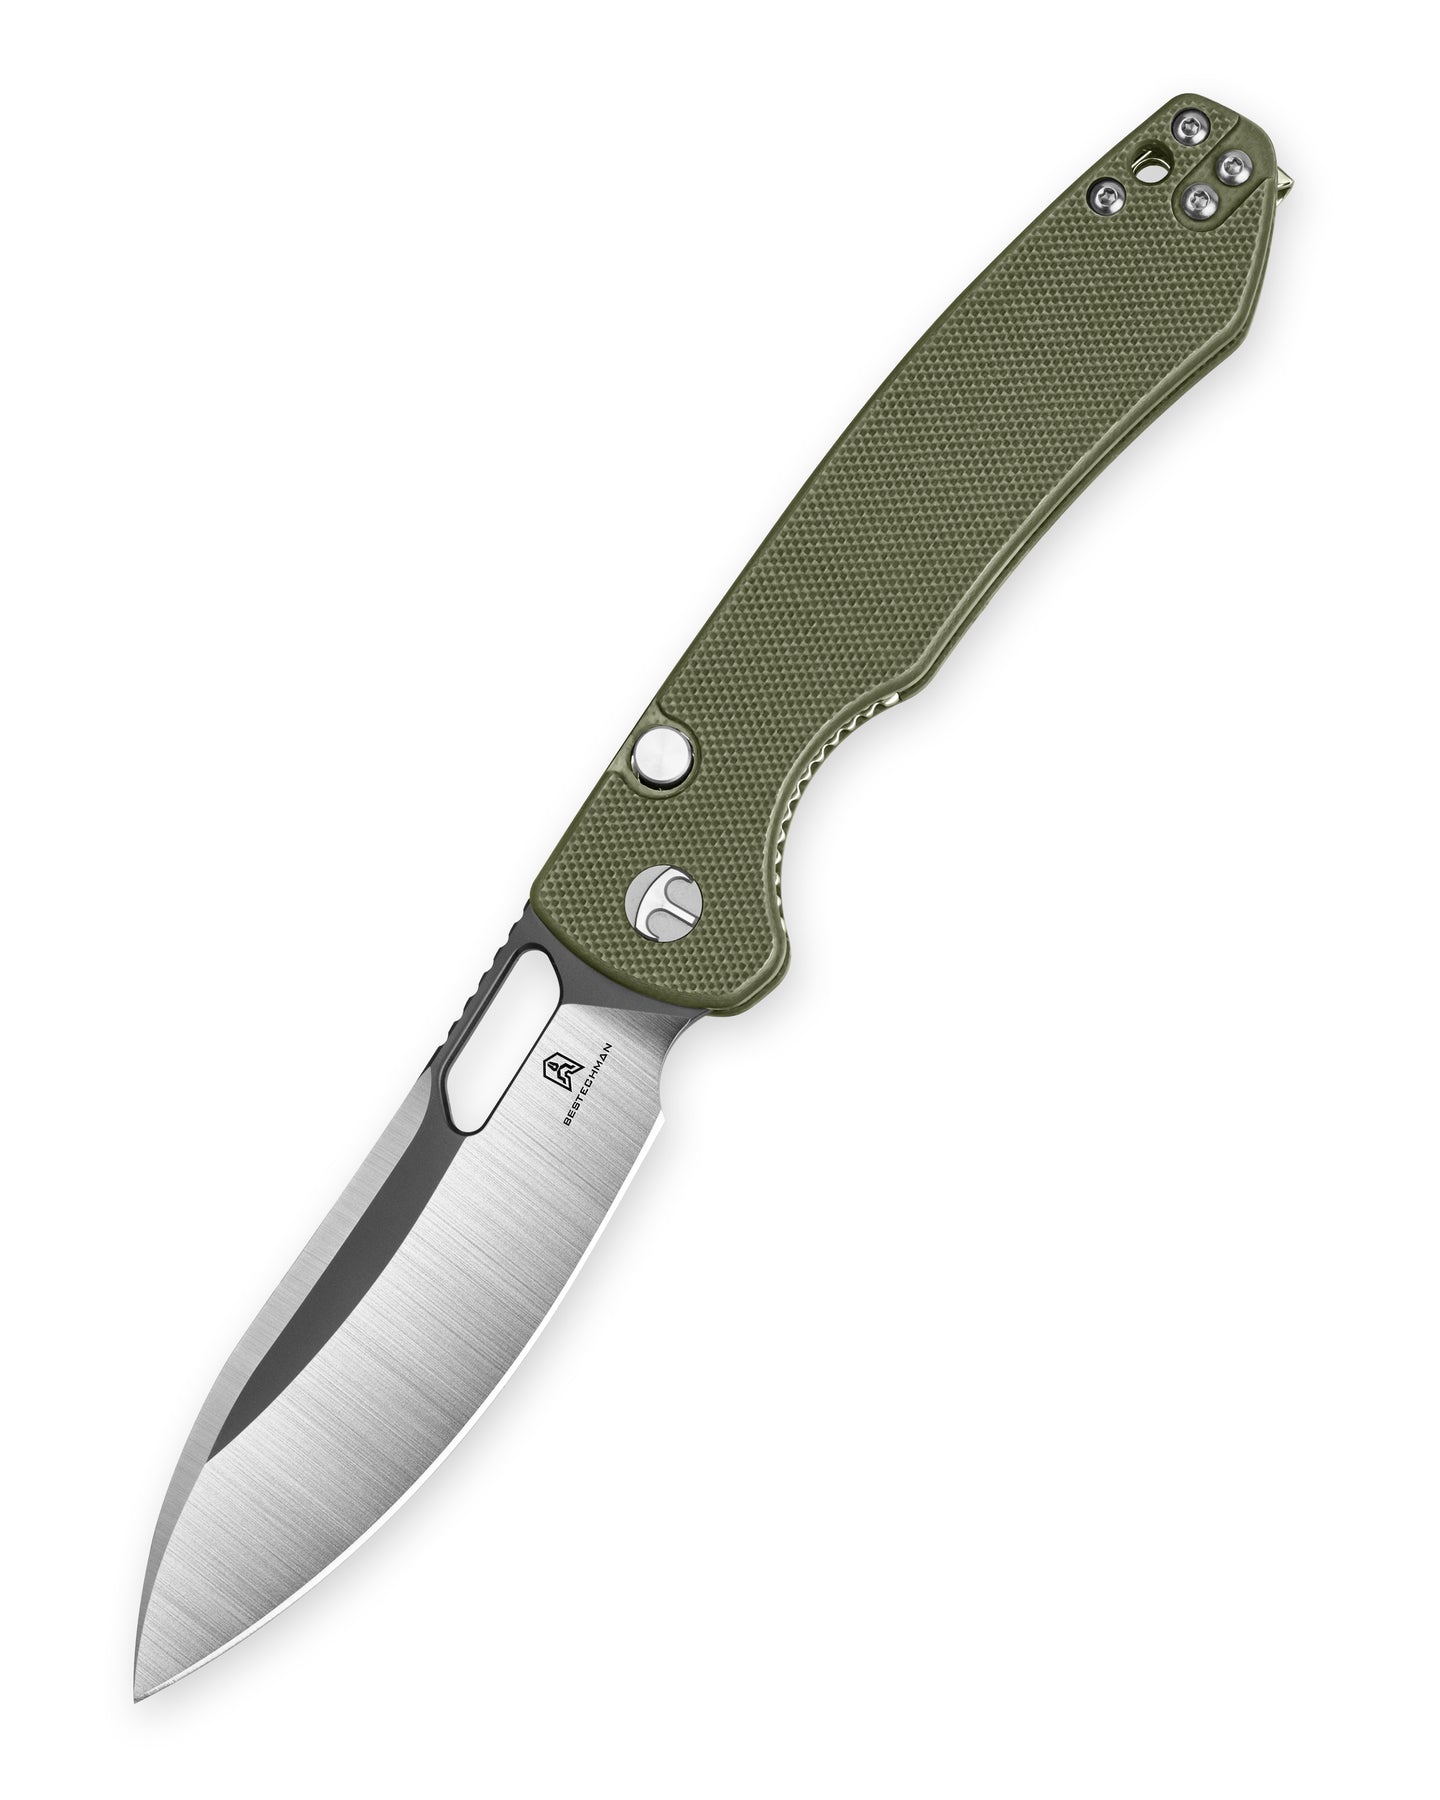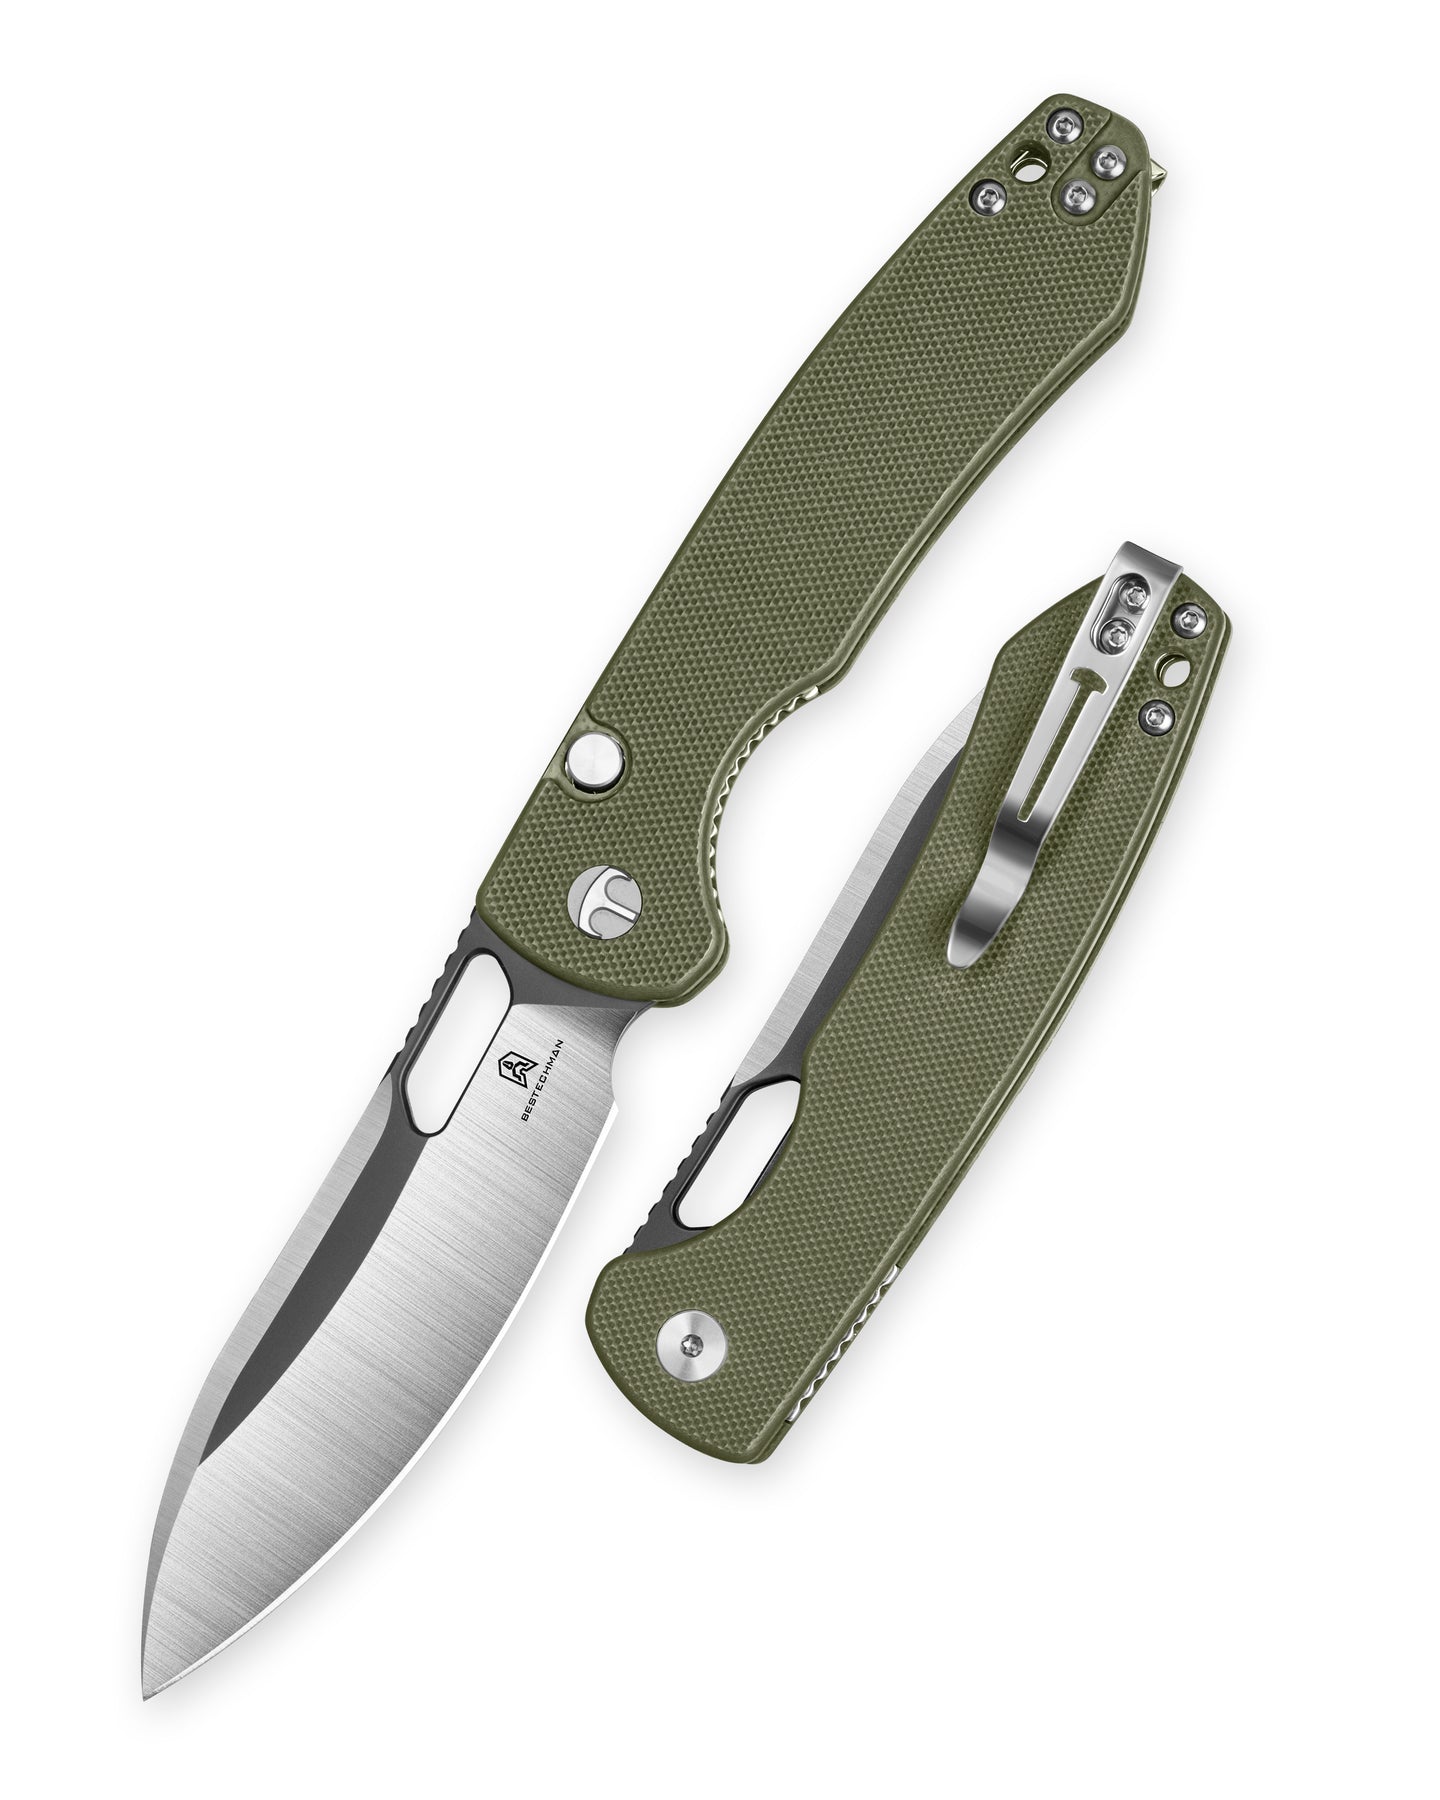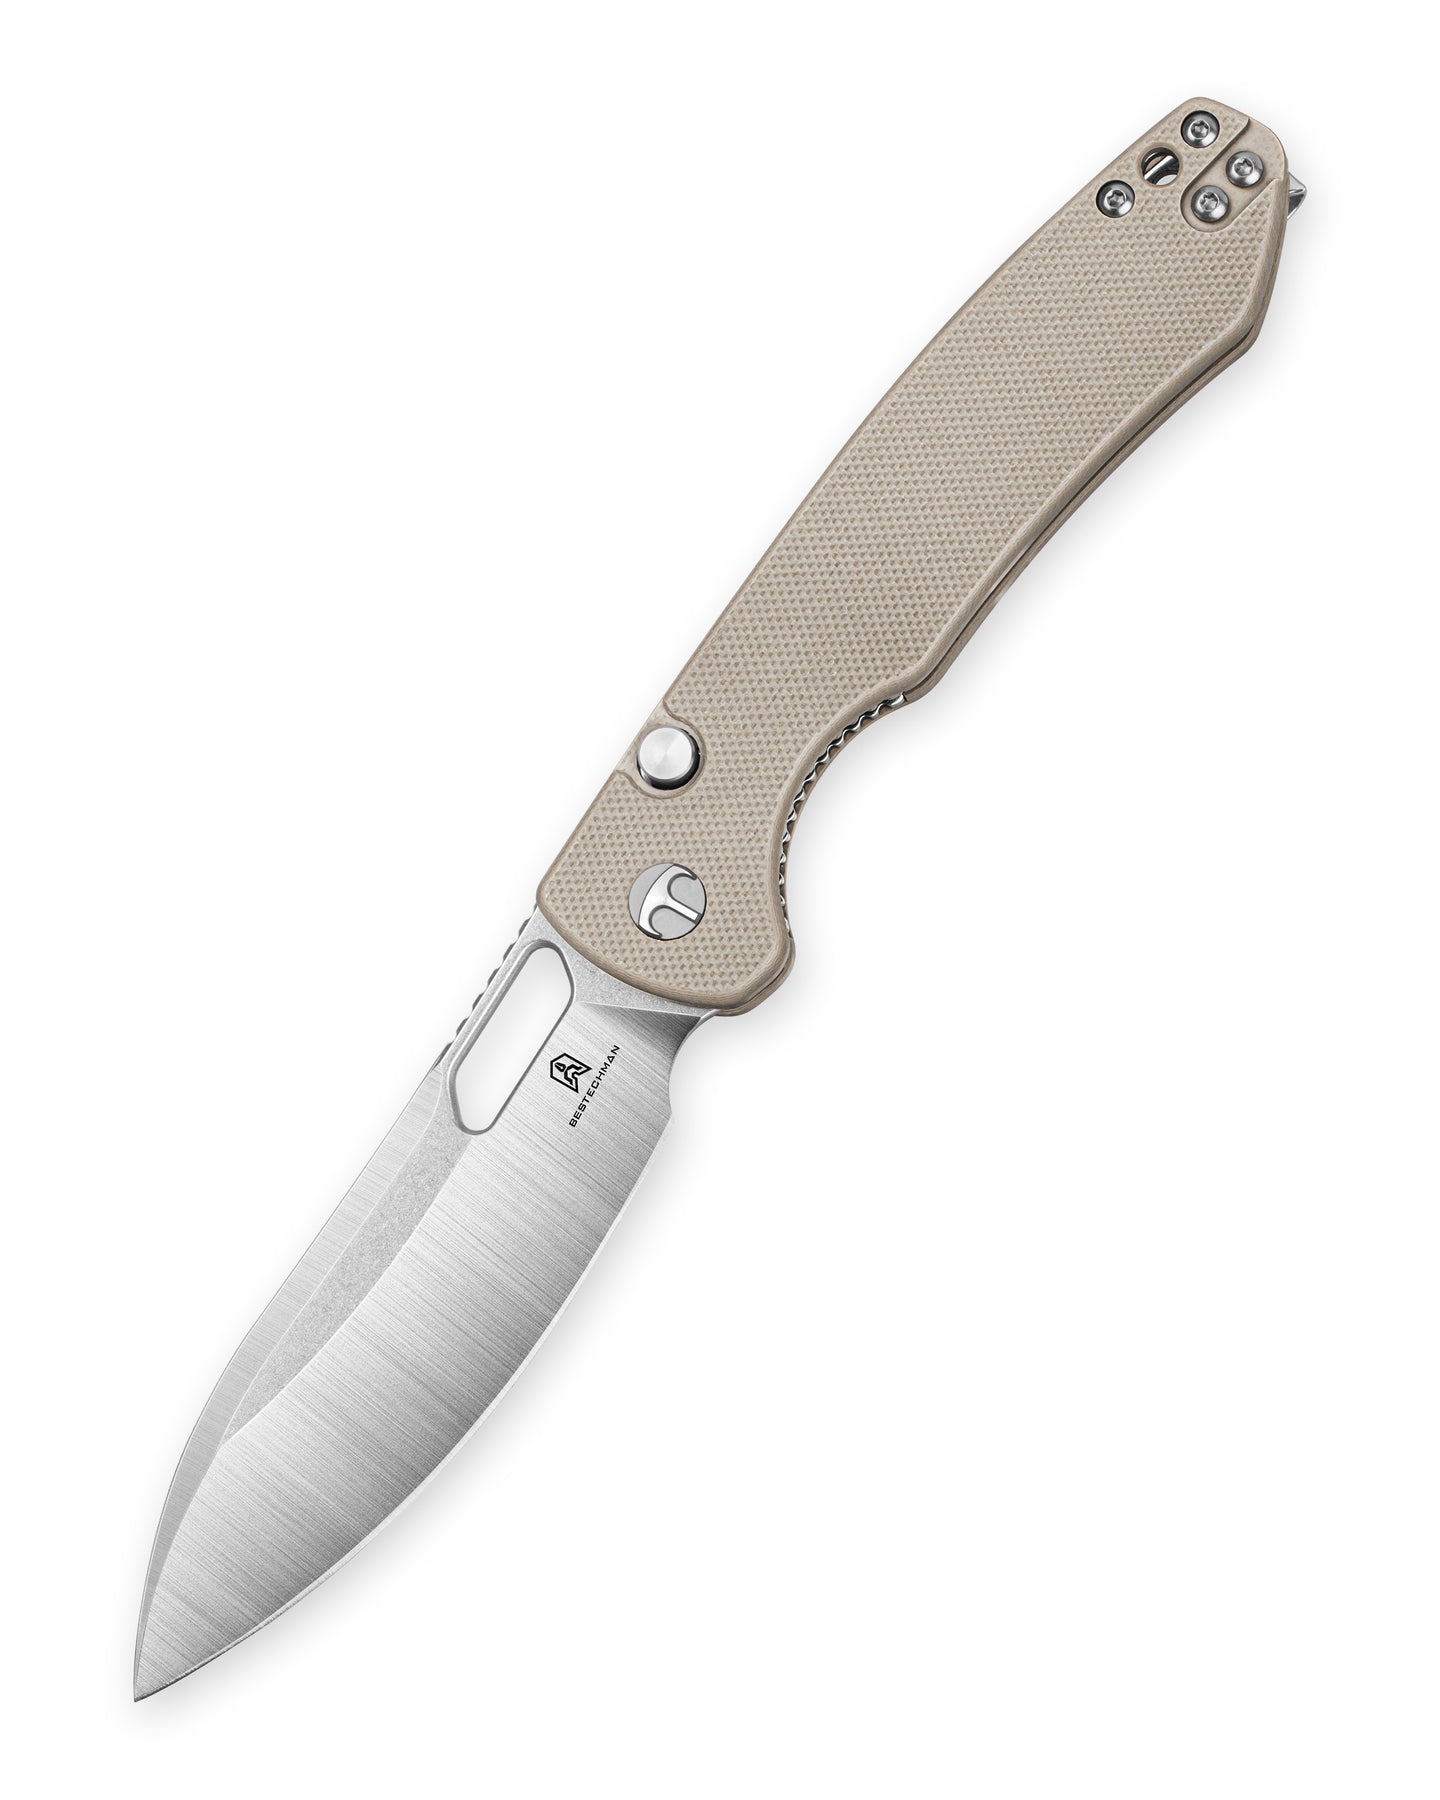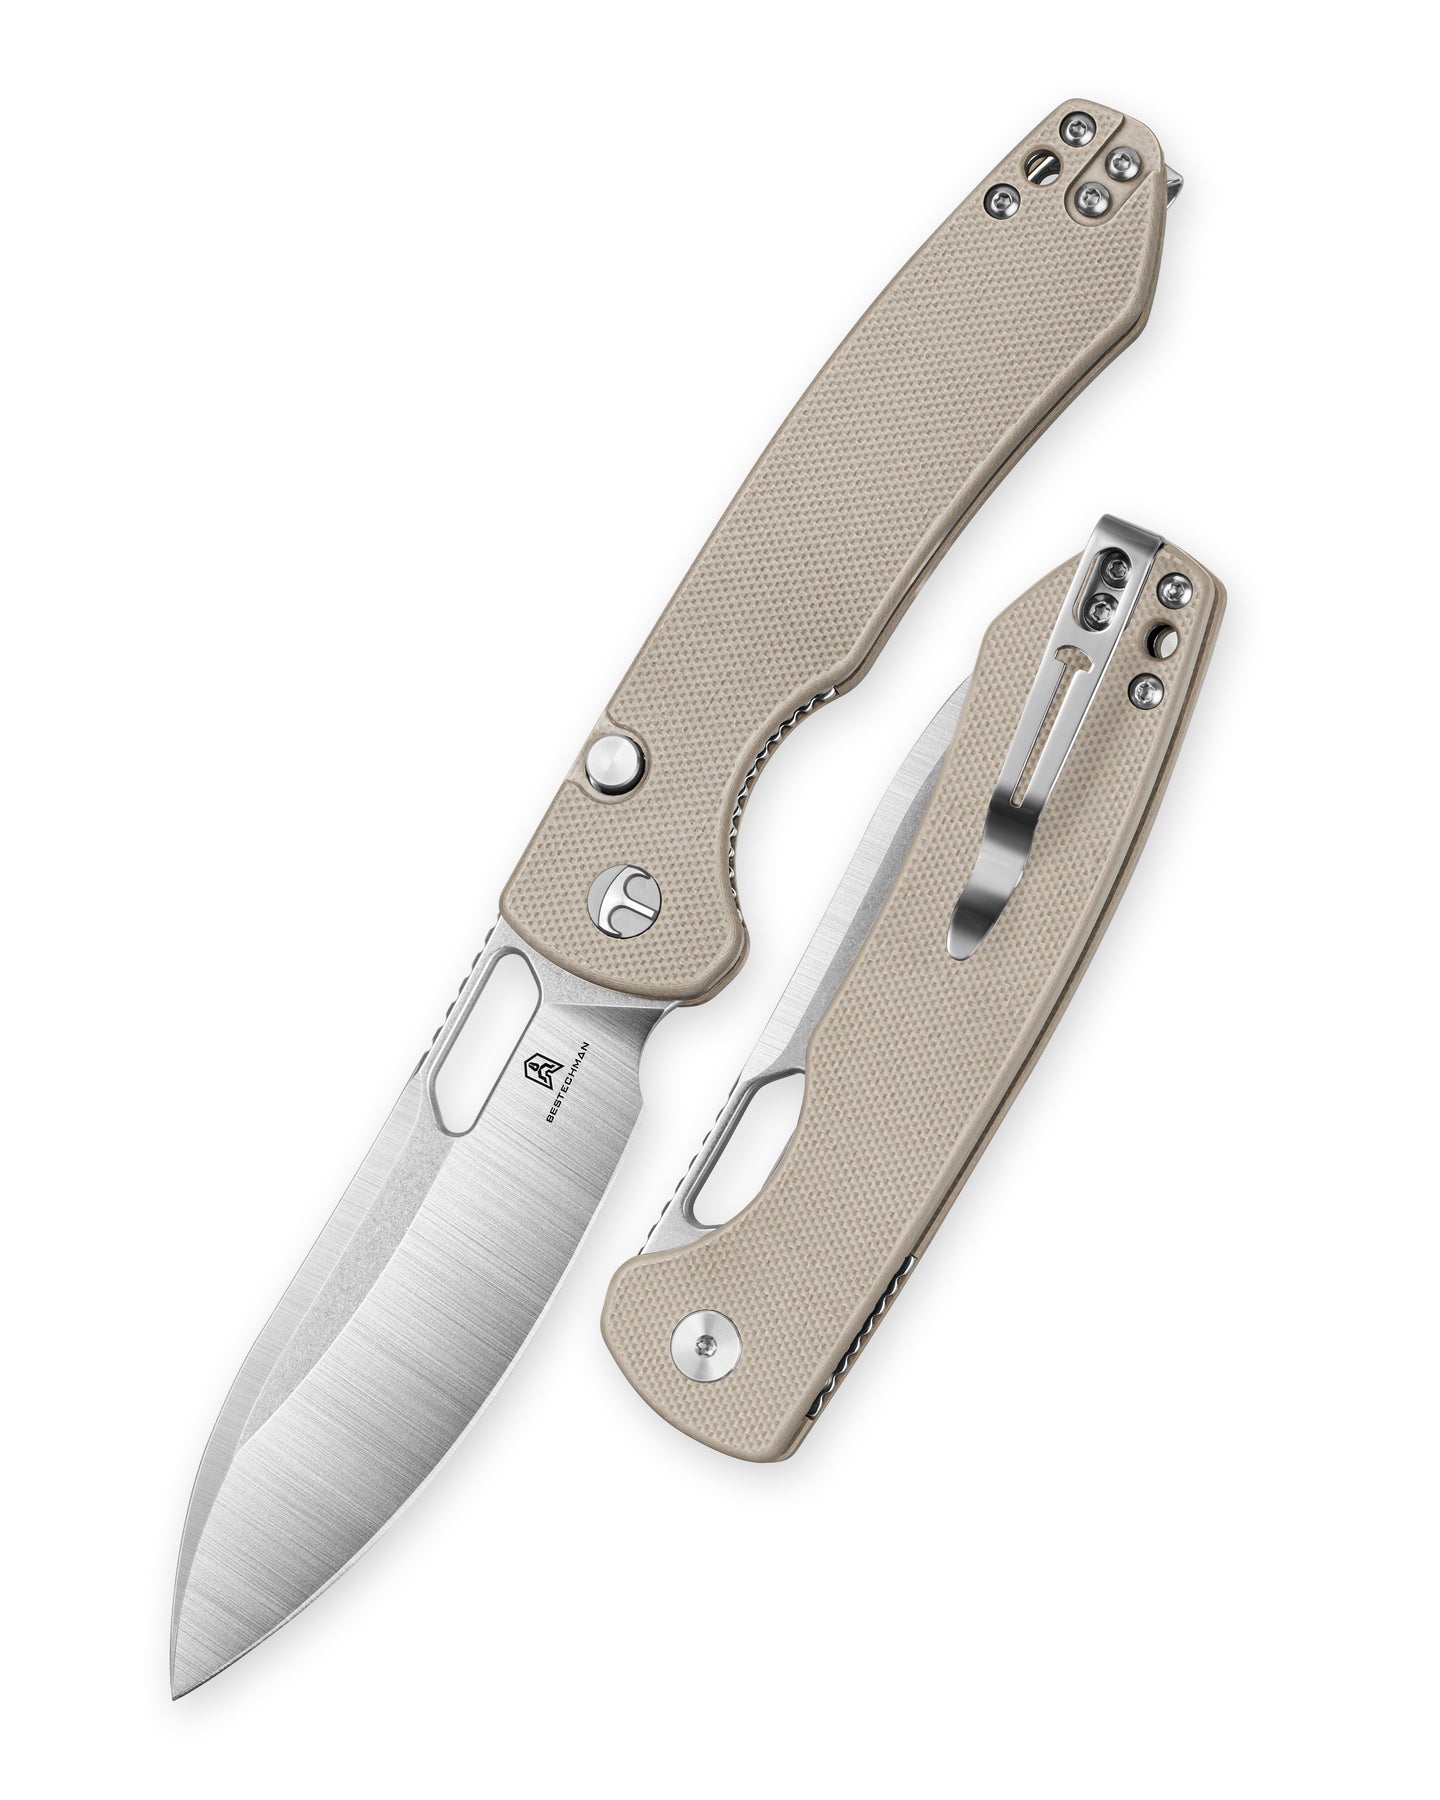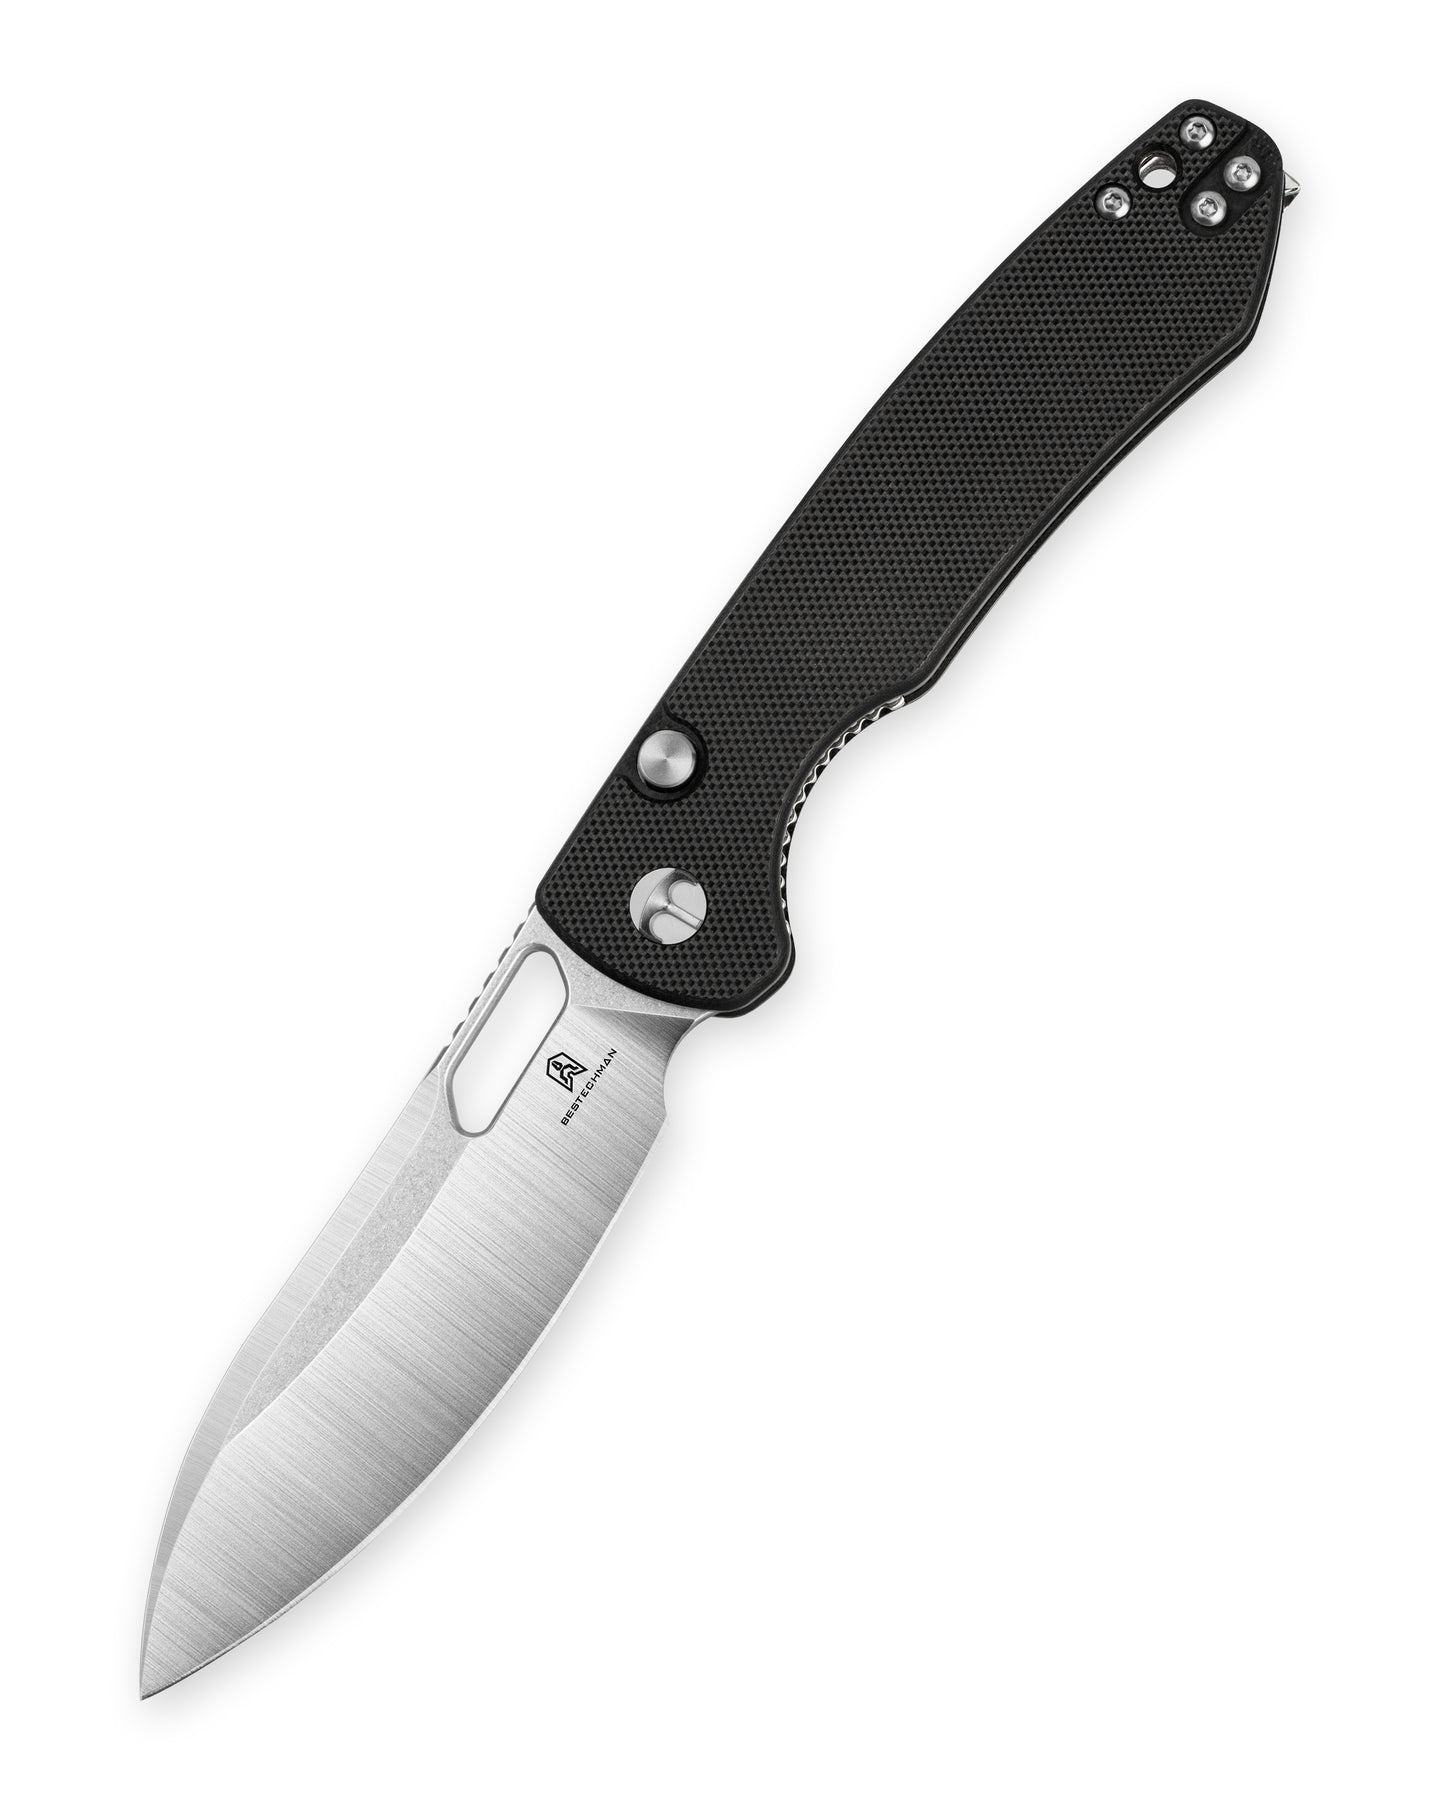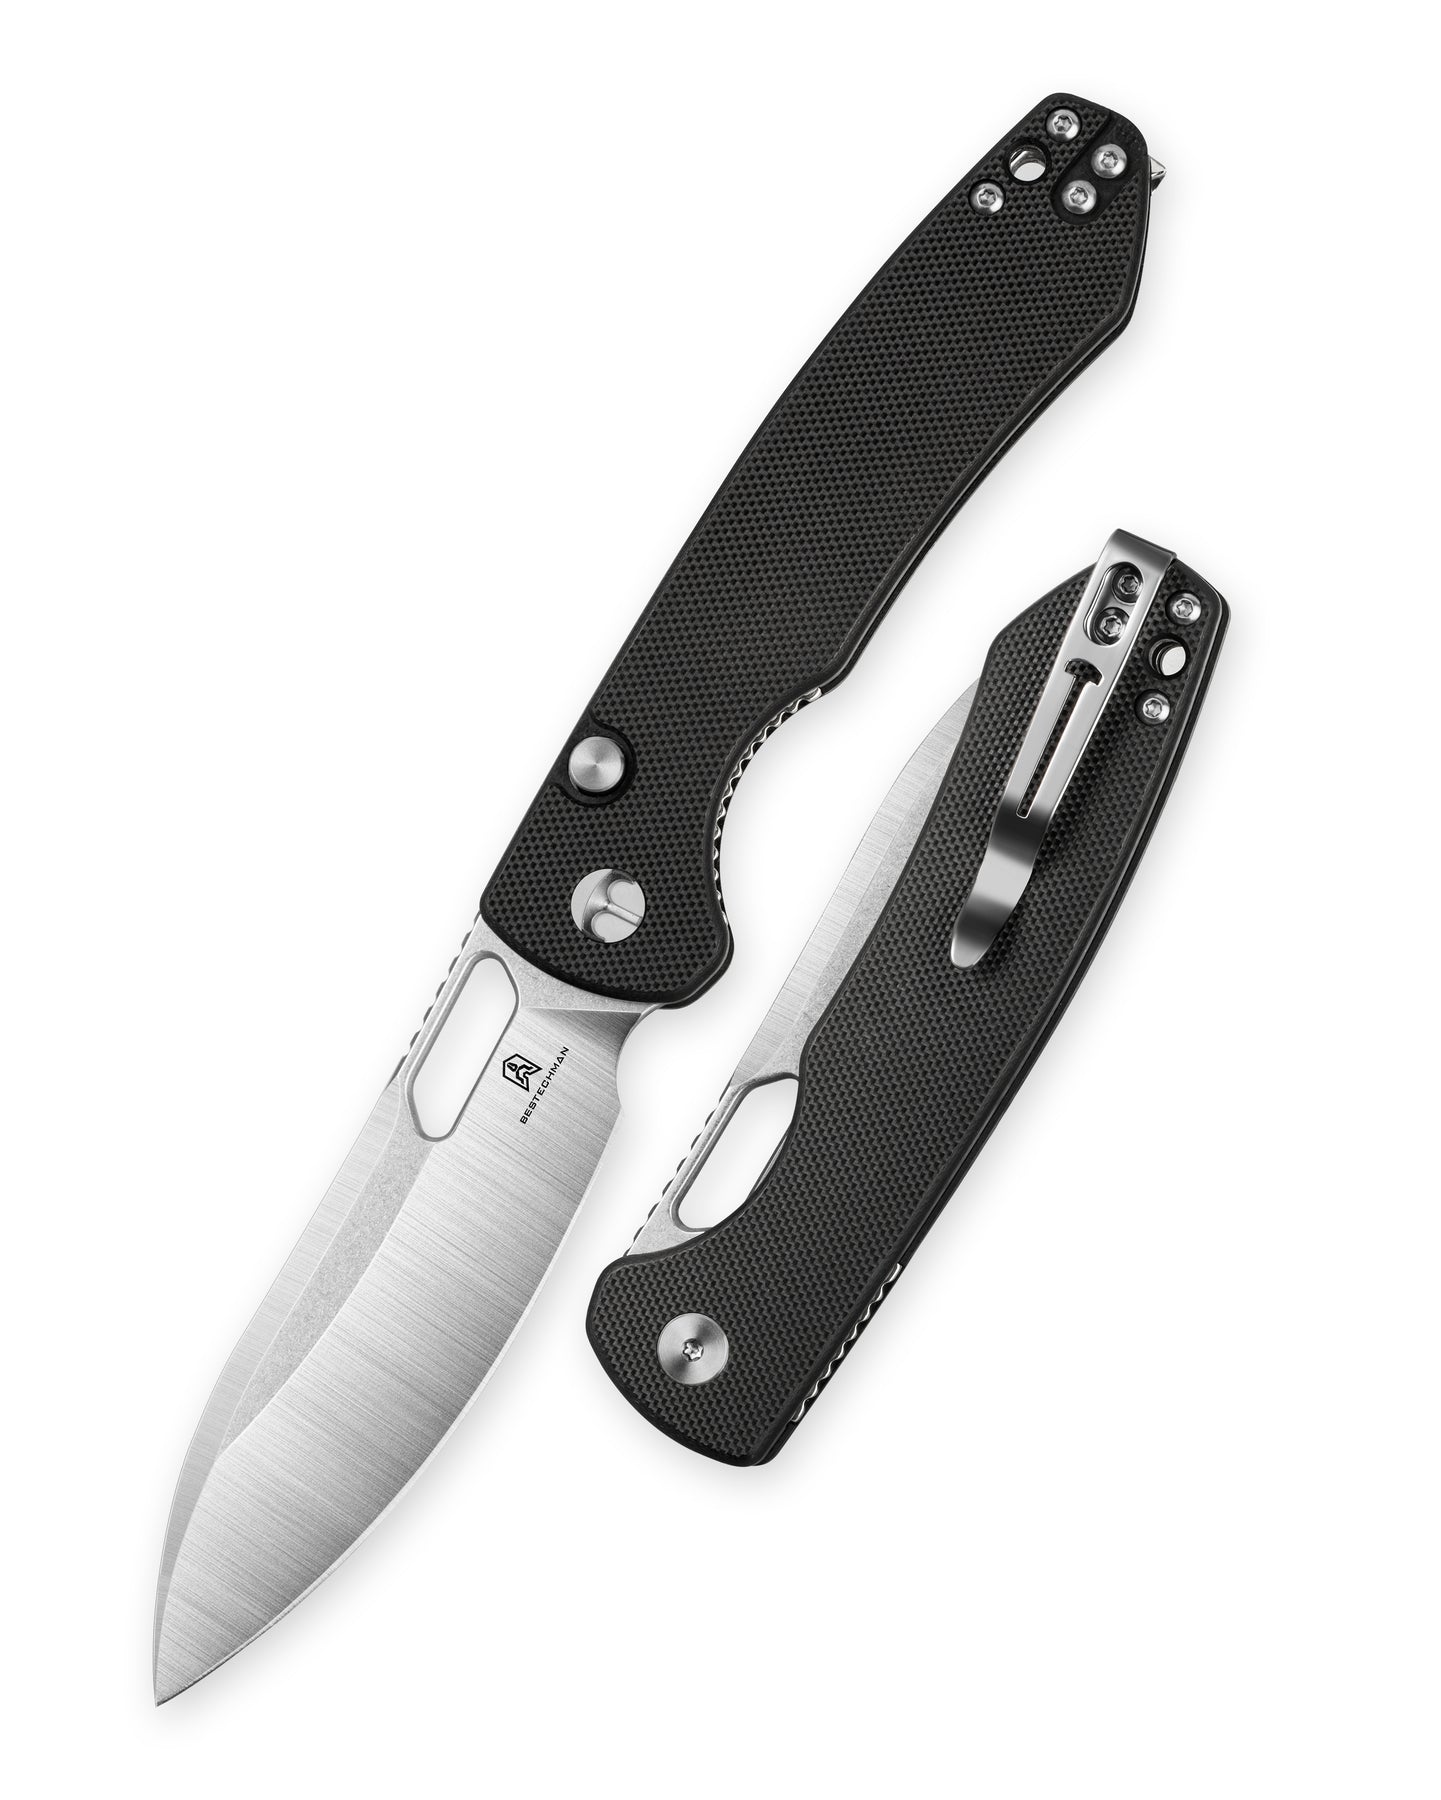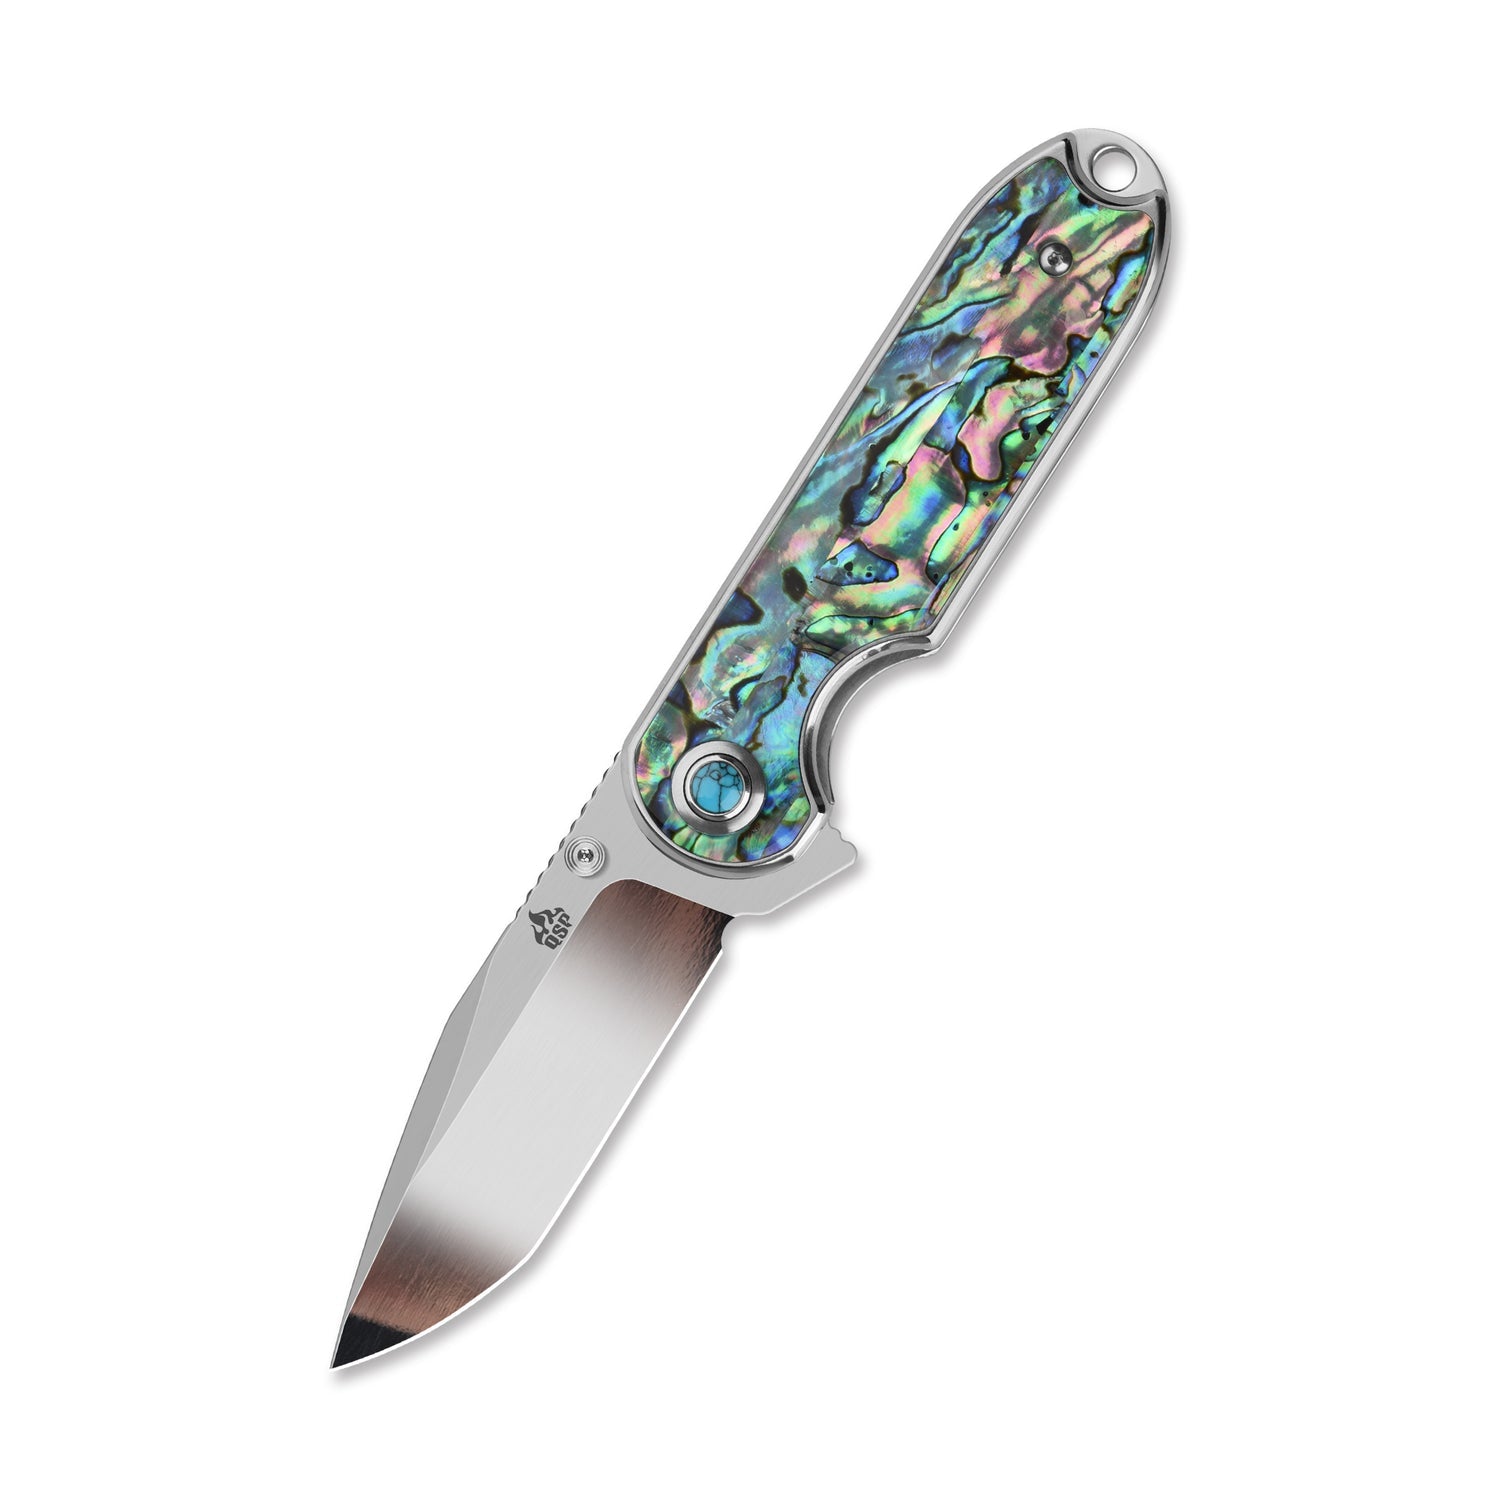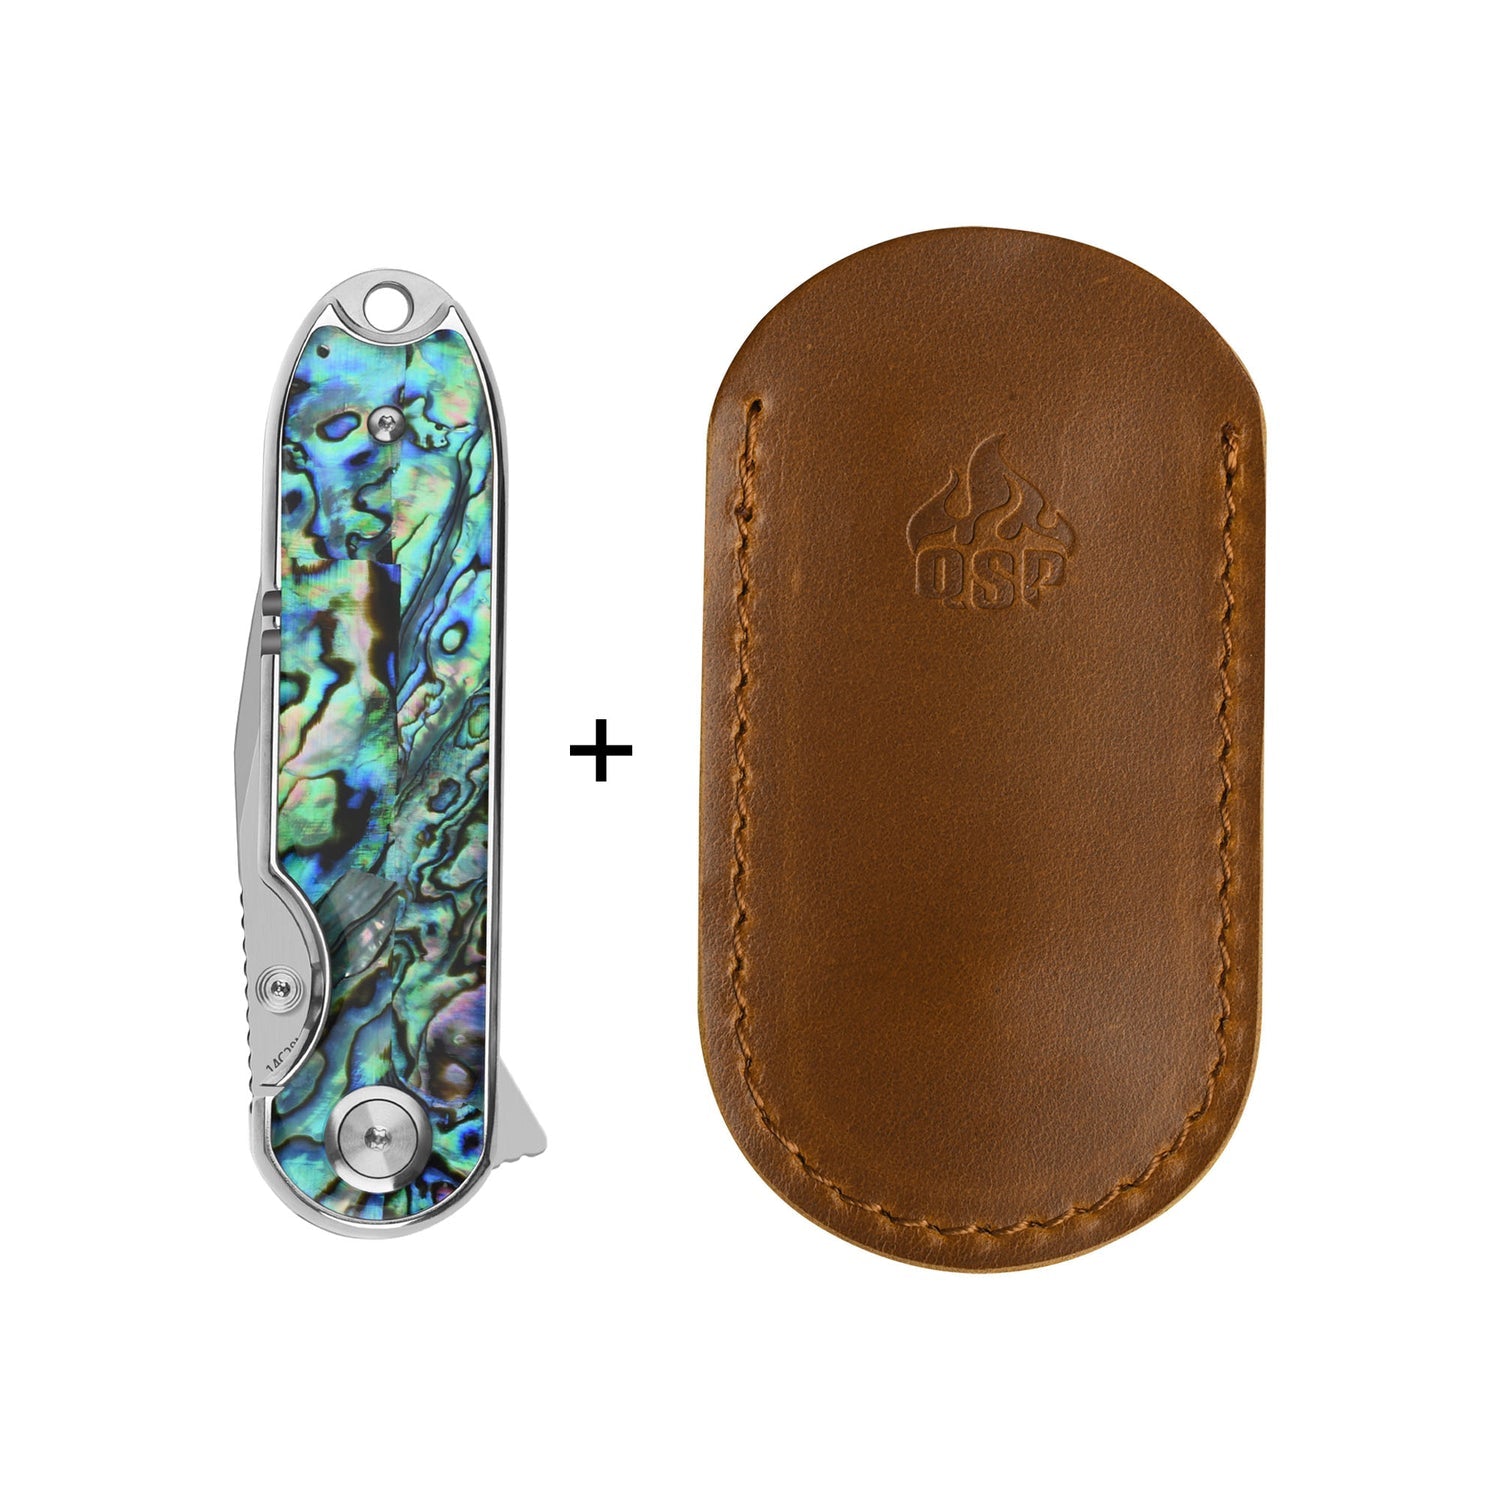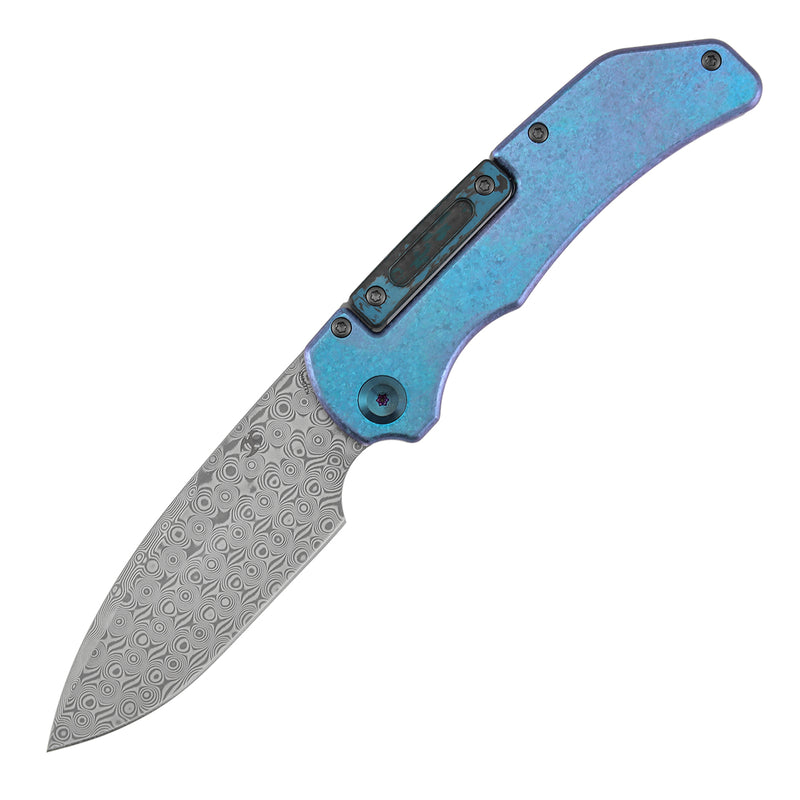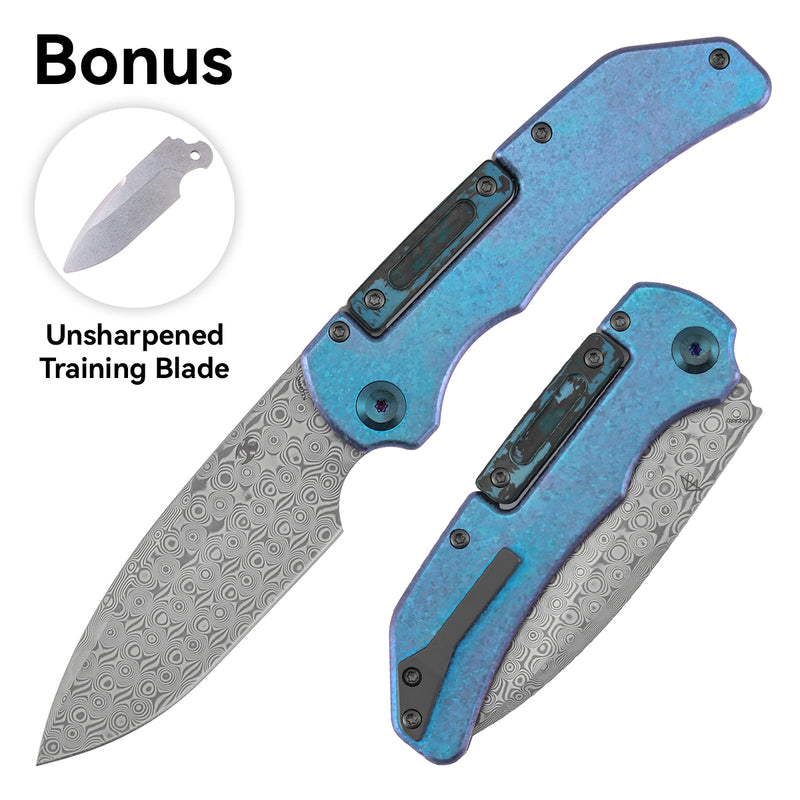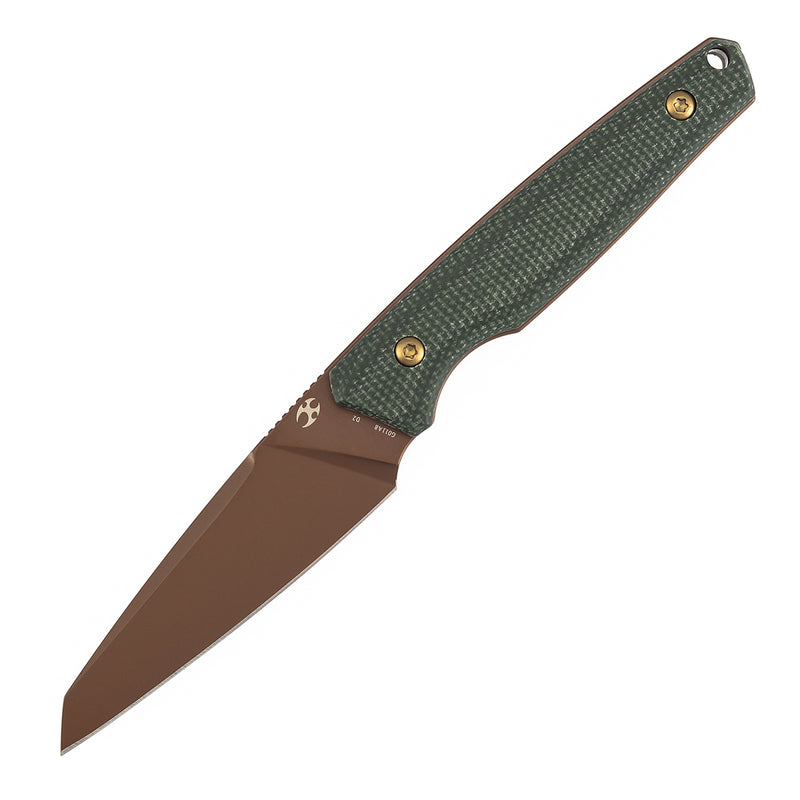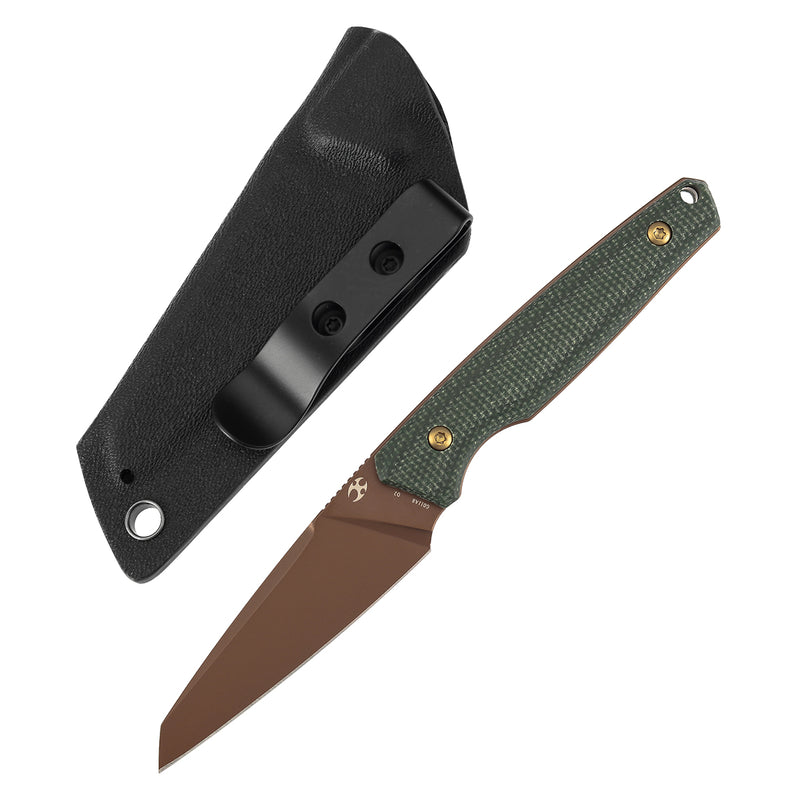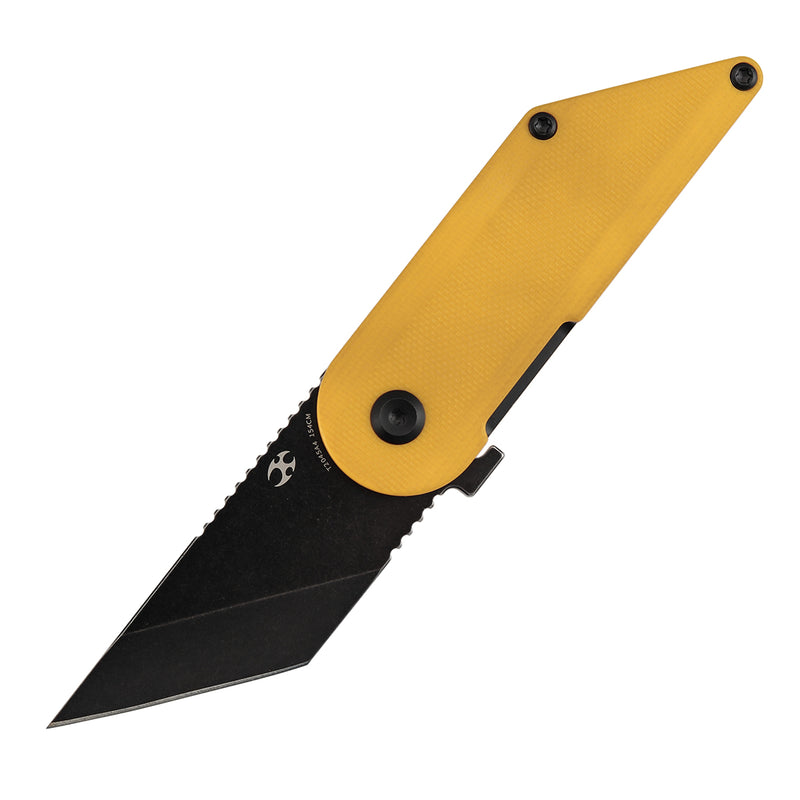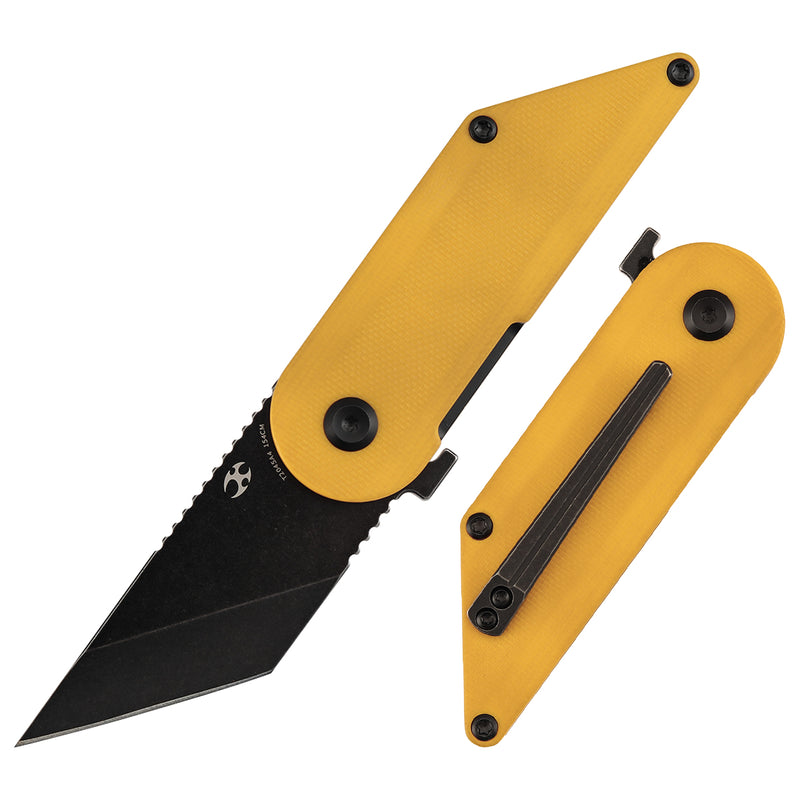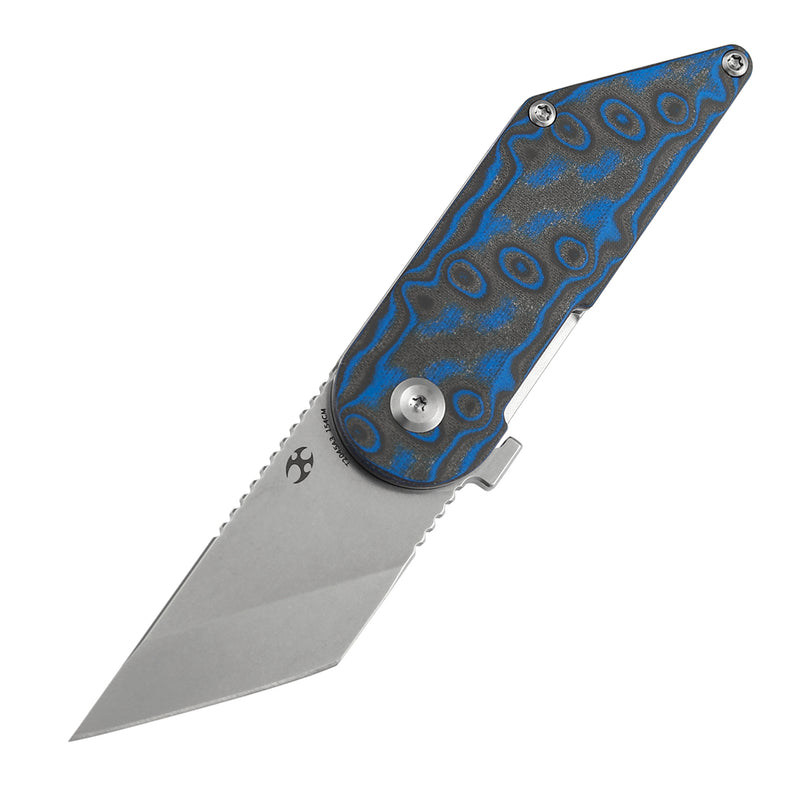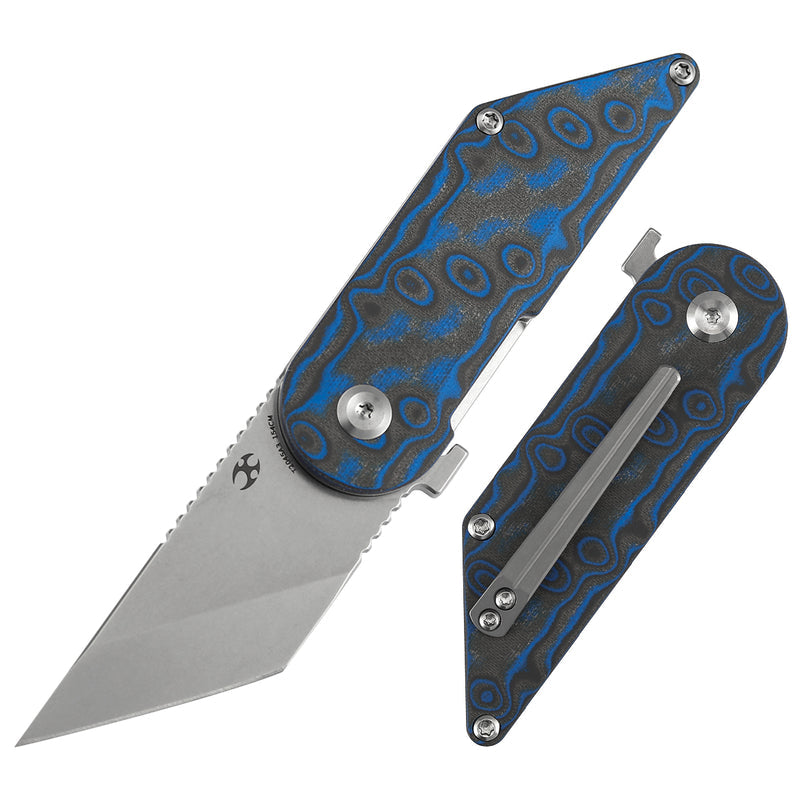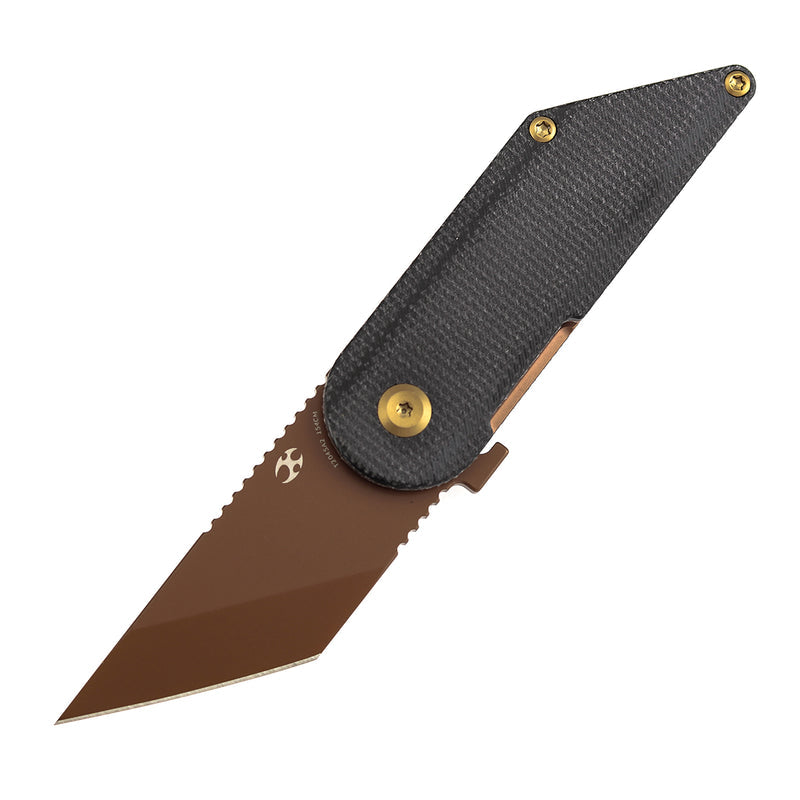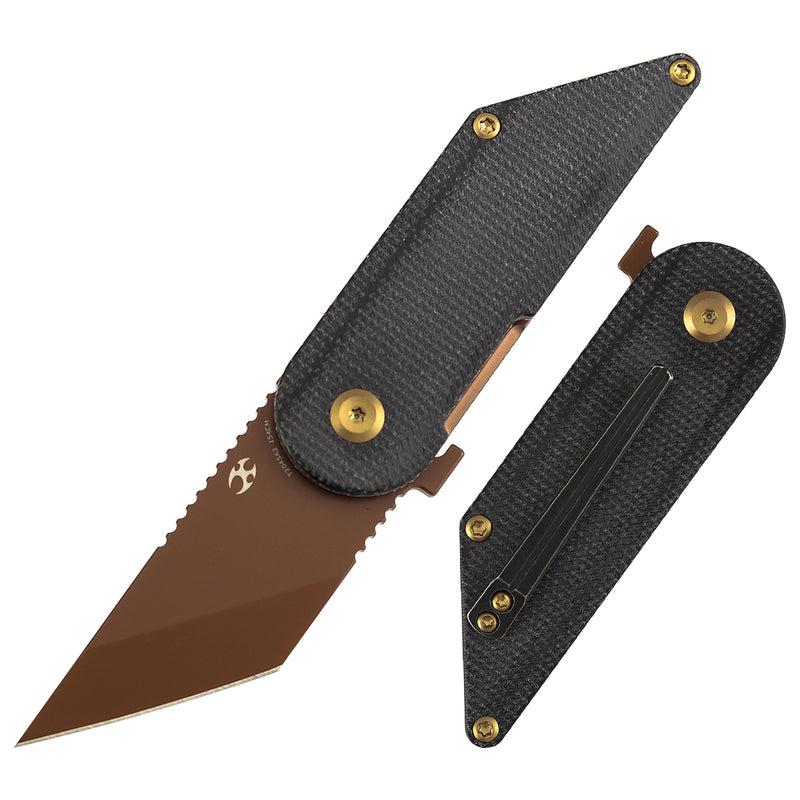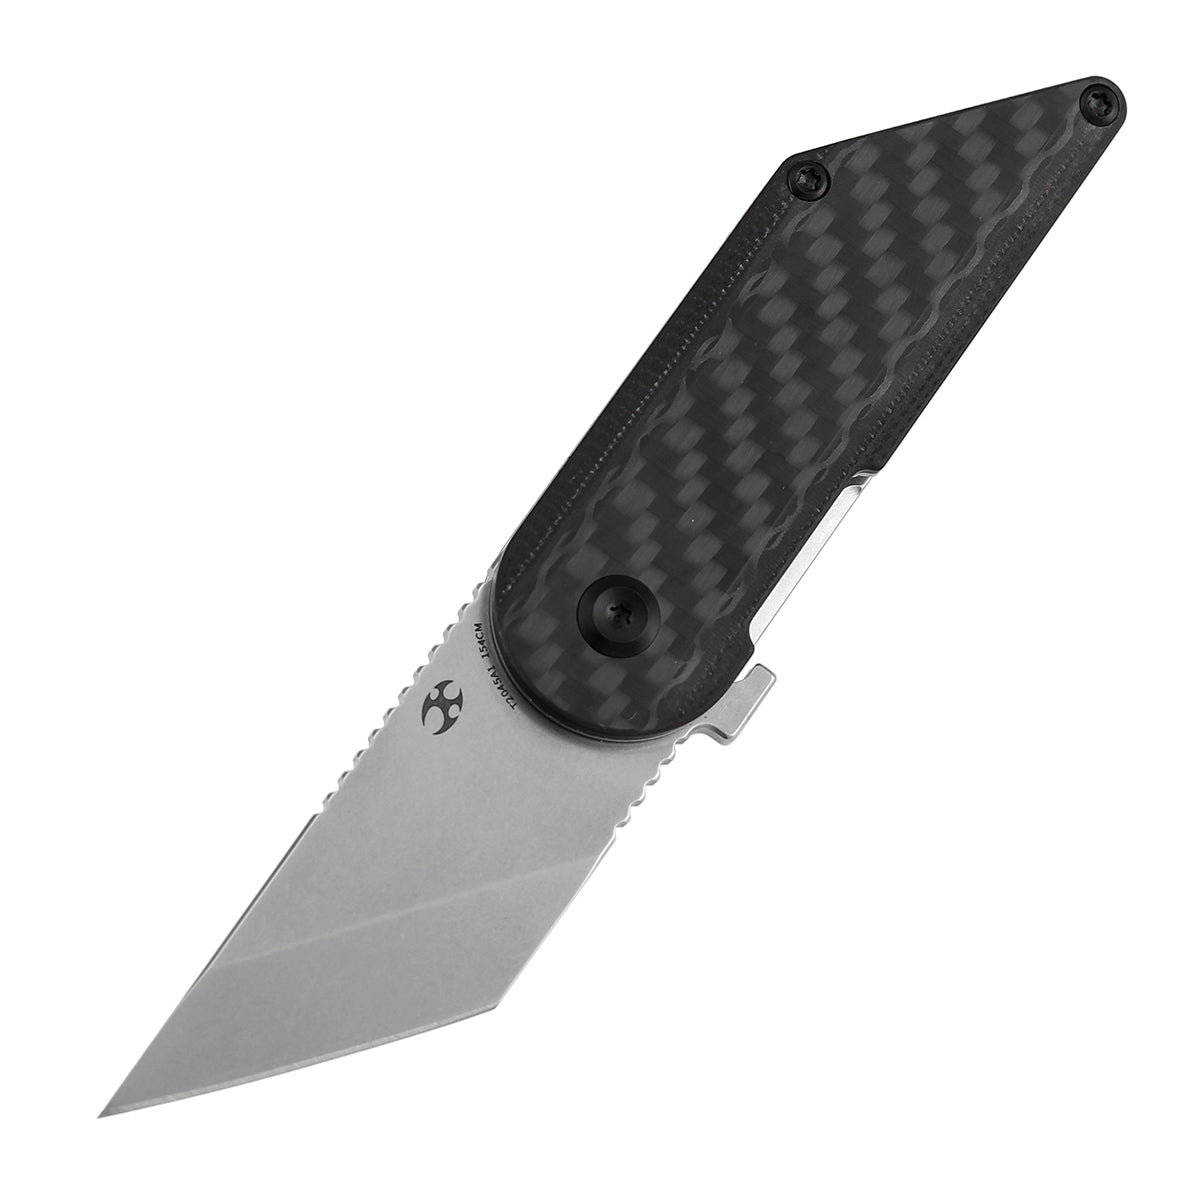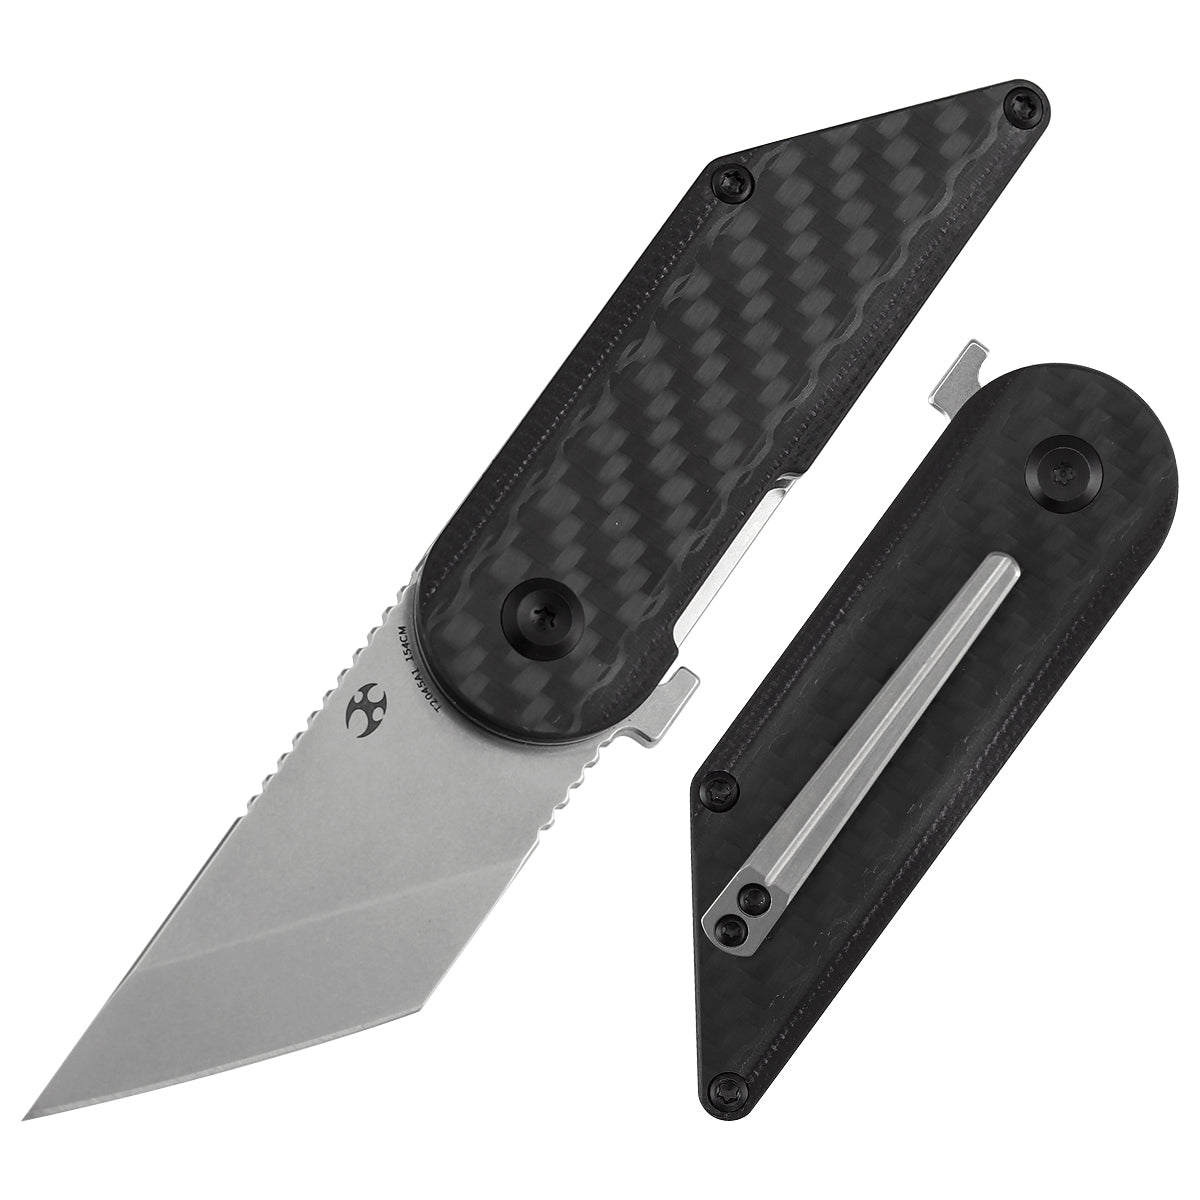

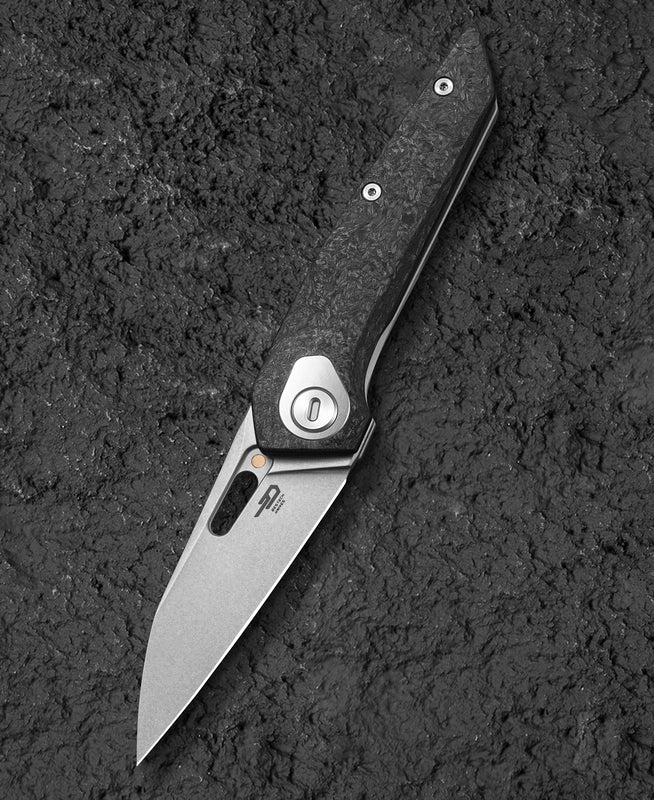
An elite folder is a significant investment for any serious gear enthusiast, combining specialized metallurgy with complex mechanical tuning. When you integrate a premium tool from Bestech into your rotation, keeping its close-tolerance action running optimally requires deliberate, scheduled attention. This guide details how to service and protect your Bestech VK-VOID premium pocket knife to guarantee its high-performance EDC attributes remain flawlessly intact for decades of cutting utility.
The Core Care Philosophy
Maintaining a modern folding knife differs heavily from cleaning a vintage fixed blade. Premium industrial folders feature minute internal spaces, fine-threaded structural hardware, and highly tuned ceramic interfaces that can be easily compromised by grit, pocket lint, or moisture.
The premium Bohler-Uddeholm Elmax stainless steel chosen for this series delivers exceptional structural toughness and remarkable stain resistance, but it is not entirely bulletproof. Oils from your skin, organic acids from cutting food, and microscopic road grime gathered inside a pants pocket can build up over time, increasing mechanical friction and threatening the factory edge. Regular preventative care prevents performance degradation before it starts.
Essential Maintenance Tools Checklist
Before attempting to service or tune your knife, assemble the proper high-quality tools to prevent stripping the factory hardware or damaging the finishes.
-
Torx Drivers: High-grade Torx wrenches (typically T8 for the primary pivot assembly and T6 for the pocket clip and handle body screws).
-
Cleaning Solvents: Isopropyl alcohol (91% or higher) or a dedicated aerosol electronics cleaner that leaves zero residue.
-
Lubrication: A low-viscosity, premium synthetic knife lubricant designed specifically for ball-bearing actions.
-
Cleaning Swabs: Microfiber cloths and compressed air canisters to clear hidden handle cavities.
-
Edge Care: A high-quality leather strop loaded with fine diamond compound (0.5 to 1.0 micron).
Detailed Step-by-Step Maintenance Routine
Step 1: Routine On-The-Go Cleaning
For standard daily use, you do not need to take the entire handle framework apart. After executing messy cutting chores, unfold the blade fully and blast the interior liners and the ceramic bearing track with compressed air to dislodge trapped lint. Dip a cotton swab into isopropyl alcohol to wipe away tape residue, adhesive, or organic oils dried onto the flat grind of the Elmax steel. Always ensure the blade is thoroughly dry before folding it back into the frame.
Step 2: Precision Internal Lubrication
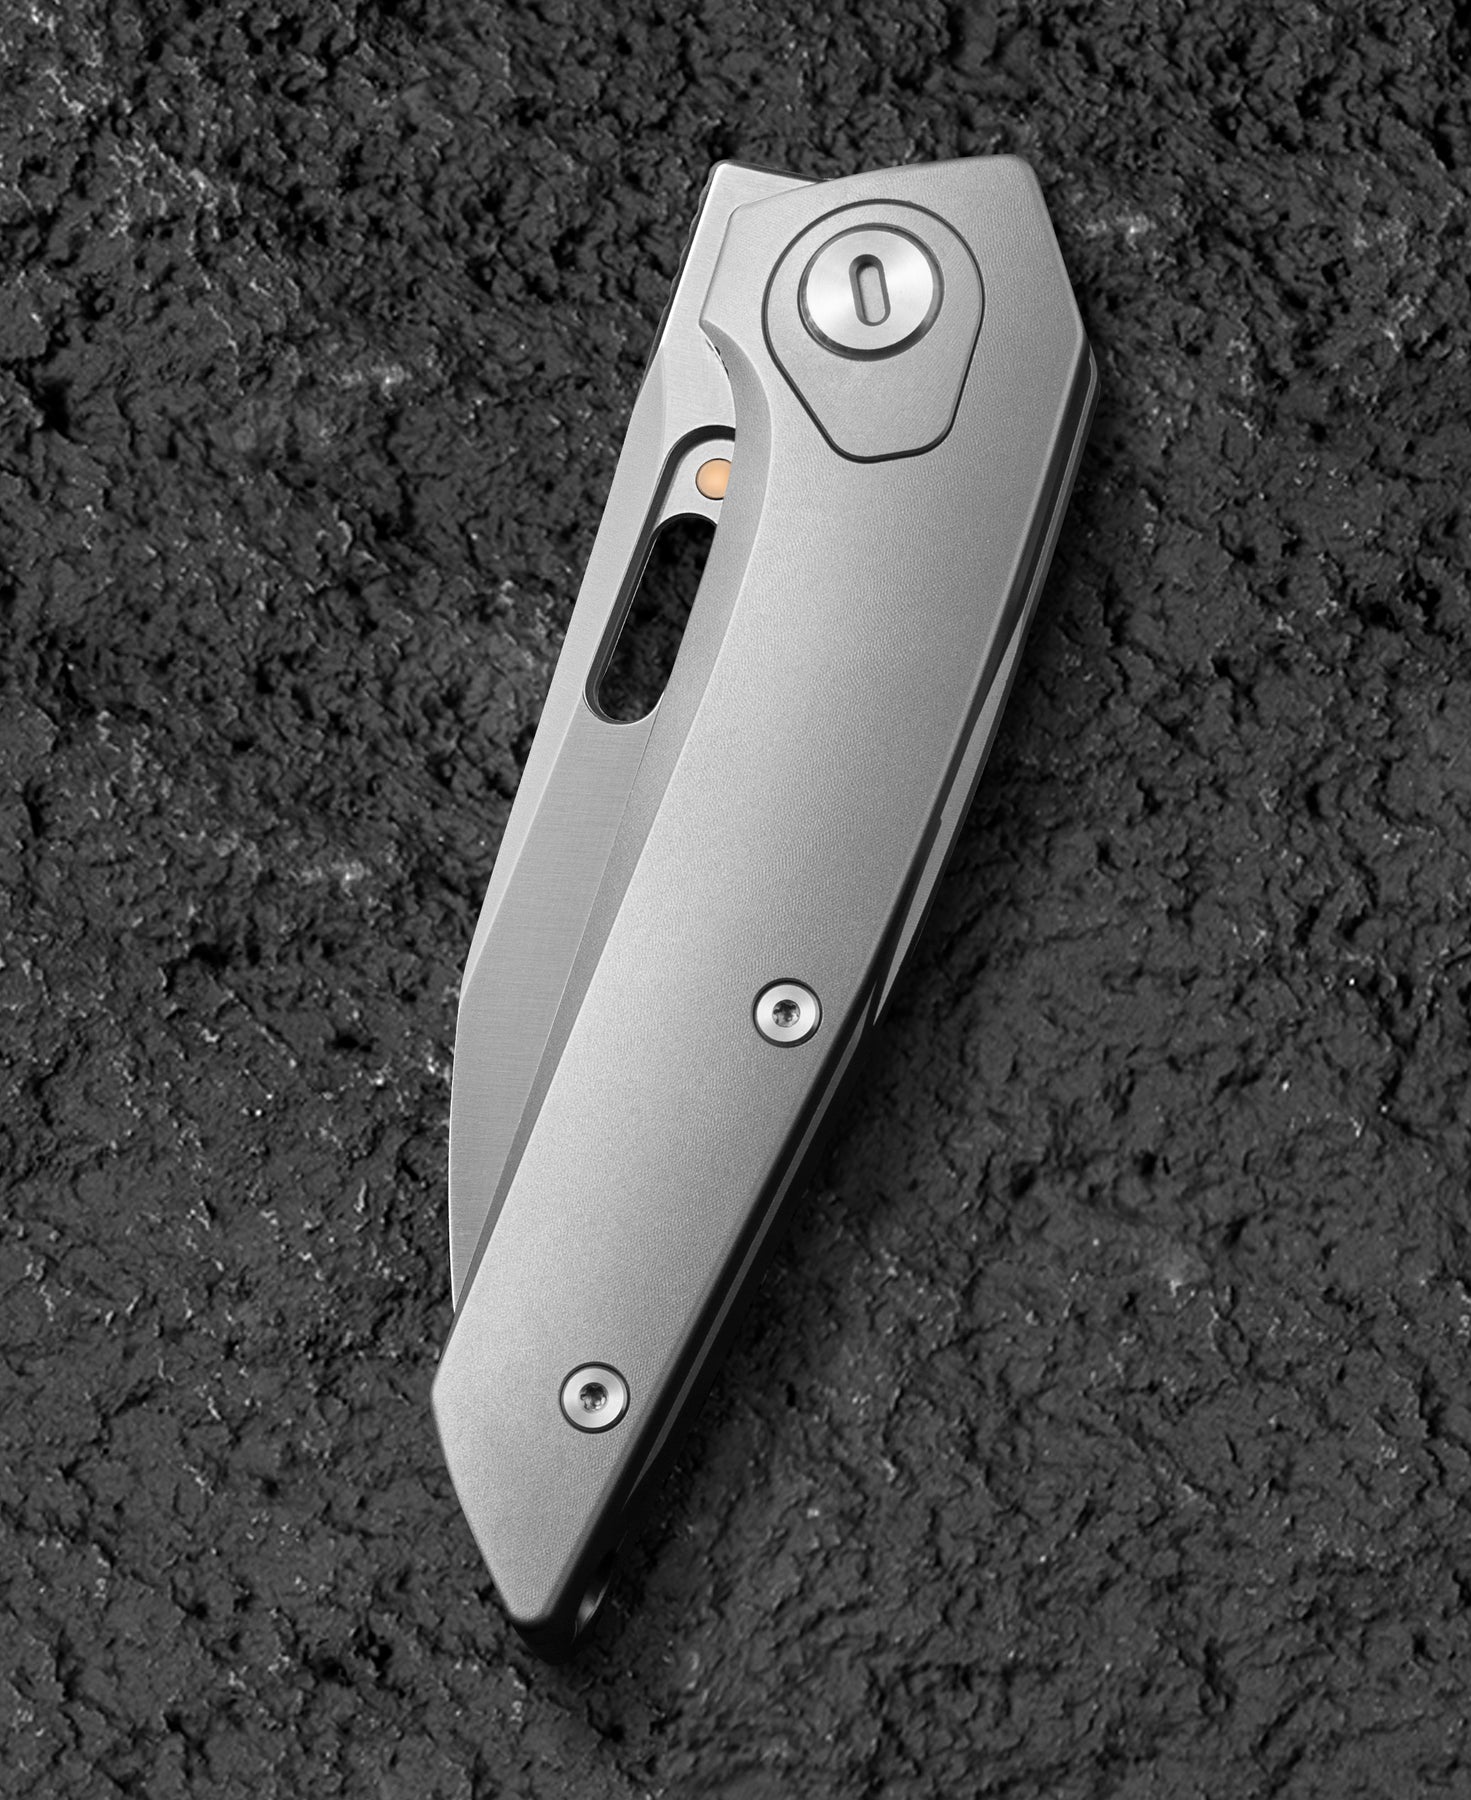
The smooth, hydraulic action of this model relies entirely on its caged ceramic ball-bearing pivot system. To keep the front flipper and thumb hole deployment feeling smooth, add a tiny drop of synthetic lubricant directly into the pivot interface.
Cycle the action ten to fifteen times to distribute the oil evenly across the bearings. Wipe away any excess fluid that bleeds onto the outer handle scales to prevent dust from adhering to the chassis.
Step 3: Preserving the Elmax Razor Edge
Elmax steel is highly celebrated for its high wear resistance, meaning it holds its factory cutting geometry incredibly well. Rather than waiting for the blade to go completely dull and forcing yourself to perform heavy sharpening on aggressive diamond plates, hone the edge frequently using a leather strop.
Hold the straight Wharncliffe edge at the factory bevel angle (typically between 15 and 18 degrees per side) and draw the blade backward across the leather face using light, uniform pressure. Ten alternating strokes per side every weekend will realign the microscopic apex of the steel, ensuring it continuously slices through paper and cardboard with absolute ease.
Deep Cleaning and Disassembly Protocol
If the deployment action feels gritty or the folder is dropped in mud, a complete teardown becomes necessary. Work on a clean, magnetic workspace mat to avoid losing minute parts.
| Disassembly Phase | Actions and Critical Guidelines |
| Hardware Removal | Use steady downward pressure on your T8 driver to break the factory threadlocker on the pivot pin. Remove the T6 body screws sequentially. |
| Chassis Separation | Carefully pull the titanium or G10 scales apart. Take care not to bend the nested stainless steel liners or lose the ceramic bearing washers. |
| Degreasing Components | Submerge the bare metal liners, bearings, and pivot pin in an isopropyl alcohol bath. Scrub away old grease using a soft toothbrush. |
| Reassembly Tuning | Apply a drop of medium-strength threadlocker to the body and pivot screws. Tighten the pivot until centering is perfect with zero side-to-side blade play. |
Long-Term Structural Storage
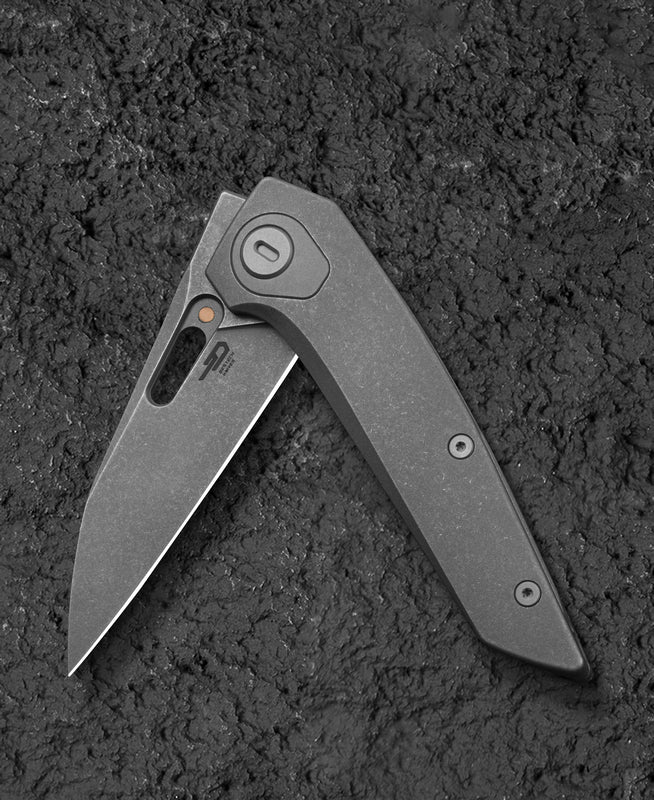
If you intend to rotate this model out of your active daily pocket gear for an extended duration, apply a micro-layer of rust-preventative oil across the entire surface of the Elmax blade. Store the folder in a dry, temperature-controlled environment away from stagnant humidity. By respecting the structural tolerances and keeping the internal bearing paths clear of debris, your premium utility companion will deploy with crisp, smooth efficiency every single time you call upon it.